B8 Handmade Frames
![]() Whether you prefer the quiet ride of bamboo, the stiffness of carbon, the distinctive look of titanium, or a combination of all three, there's a B8 frame that's just right for you.
Whether you prefer the quiet ride of bamboo, the stiffness of carbon, the distinctive look of titanium, or a combination of all three, there's a B8 frame that's just right for you.
B-9 NH Urban Stealth
![]() Singlespeed Urban Stealth bicycle with styling inspired by the famous F-117 Nighthawk aircraft.
Singlespeed Urban Stealth bicycle with styling inspired by the famous F-117 Nighthawk aircraft.
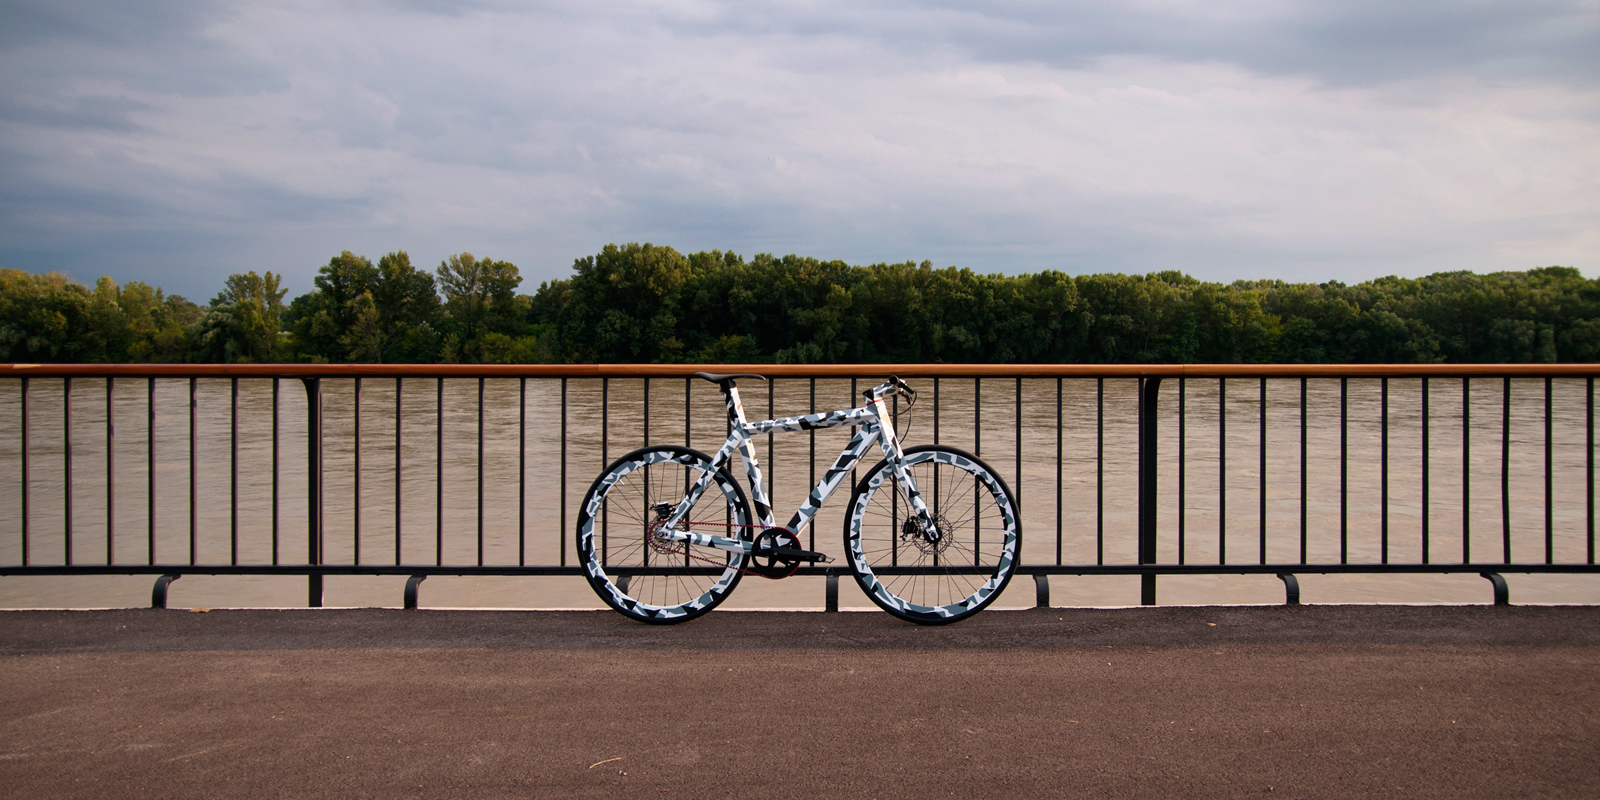
Electric gravel bike
![]() Experimental e-bike which doesn't look like an e-bike.
Experimental e-bike which doesn't look like an e-bike.
Yellow Blackbird & Bamboozler
![]() Handmade MTB frames with carbon and natural bamboo tubes using lugged construction. Designed for 110 mm travel suspension forks and optimized for XC riding.
Handmade MTB frames with carbon and natural bamboo tubes using lugged construction. Designed for 110 mm travel suspension forks and optimized for XC riding.
X-9 Nighthawk
![]() Experimental frame made out of sandwich panels with aramid honeycomb as a core, covered with carbon fiber skins. It was a predecessor of the B-9 NH bicycle. .
Experimental frame made out of sandwich panels with aramid honeycomb as a core, covered with carbon fiber skins. It was a predecessor of the B-9 NH bicycle. .
Carbon C-Thru Road Frame
![]() Experimental carbon composite frame as the result of the idea of using a framed structure to build a bicycle frame.
Experimental carbon composite frame as the result of the idea of using a framed structure to build a bicycle frame.
Titanium Riveted Frame
![]() The idea of this experimental frame was to use the laser cut and bent titanium sheets joined with stainless steel rivets.
The idea of this experimental frame was to use the laser cut and bent titanium sheets joined with stainless steel rivets.
Bamboo Composite Frame
![]() Experimental frame laminated from processed bamboo fibers.
Experimental frame laminated from processed bamboo fibers.
Early works
![]() How it all started - First carbon and bamboo frames and components
How it all started - First carbon and bamboo frames and components
S72 Saddle assembly
![]() The ultimate racing saddle with easy single bolt adjusting.
The ultimate racing saddle with easy single bolt adjusting.
